Creating and Applying a Favicon to Your GitHub Blog
![]() This post walks through generating and applying a favicon to a GitHub Pages blog using the Minimal Mistakes Jekyll theme.
This post walks through generating and applying a favicon to a GitHub Pages blog using the Minimal Mistakes Jekyll theme.
[01] What is a Favicon?
A favicon (short for “Favorites Icon”) is the small icon shown in a browser’s address bar, tab, and bookmarks list that visually identifies your site.
Without a favicon your blog tab displays a generic blank page icon. Adding one makes your site look polished and helps readers recognize it at a glance when they have multiple tabs open.

Figure 1. Browser tab showing the default blank icon — no favicon has been set yet.
[02] Prepare the Source Image
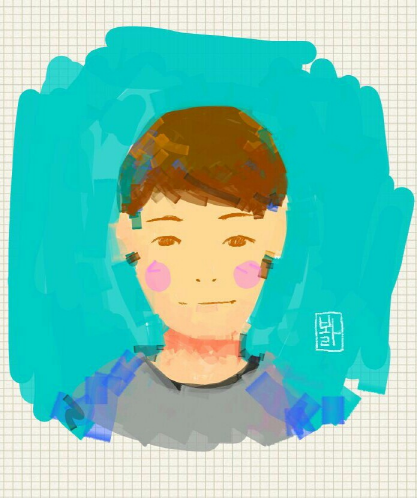
Choose a square image to use as your favicon. Square images scale down cleanly to the small icon sizes browsers use (16×16 and 32×32 pixels). Logos, avatars, or simple symbols all work well.

Figure 2. Example source image — a square crop works best for clean favicon scaling.
[03] Generate the Favicon Files
Use the free favicon-generator.org service to convert your image into the set of icon files that browsers expect.
- Open the site and click Choose File (File Selection).
- Select your prepared square image.
- Click Create Favicon.

Figure 3. The favicon-generator.org interface — upload your image and click “Create Favicon”.
Once generation completes:
- Click Download the generated favicon to save the ZIP archive.
- Copy the HTML document snippet shown on the results page — you will paste it into your blog’s head template later.

Figure 4. Results page — download the ZIP and copy the HTML snippet before closing this page.
Rename the downloaded .ico file for clarity (the extension must stay .ico):
- Before:
ed00c6...favicon.ico - After:
favicon.ico

Figure 5. Rename the file to something simple while keeping the .ico extension.
[04] Upload the Favicon Assets to Your Blog
Unzip the downloaded archive. Inside you will find a folder containing multiple icon files (different sizes for different devices). Copy the entire folder into your blog’s /assets/ directory.

Figure 6. The favicon asset folder copied into the blog’s /assets/ directory.
Your repository structure should look like this after copying:
1
2
3
4
5
6

assets/
└── favicon.ico/
    ├── favicon.ico
    ├── favicon-16x16.png
    ├── favicon-32x32.png
    └── ... (other sizes)
[05] Add the HTML Snippet to the Blog Theme
Open _includes/head/custom.html in your blog repository. Paste the HTML snippet you copied from favicon-generator.org.
Update the href attribute in each <link> tag to point to the path where you uploaded the files — for example /assets/favicon.ico/.

Figure 7. The HTML snippet pasted into _includes/head/custom.html with href paths updated to /assets/favicon.ico/.
A typical snippet looks like this:
1
2
3
4

<link rel="shortcut icon" href="/assets/favicon.ico/favicon.ico" type="image/x-icon" />
<link rel="apple-touch-icon" sizes="57x57" href="/assets/favicon.ico/apple-icon-57x57.png" />
<link rel="apple-touch-icon" sizes="60x60" href="/assets/favicon.ico/apple-icon-60x60.png" />
<!-- ... more sizes ... -->
[06] Result
Push the changes to GitHub and wait for the Pages build to complete (usually under a minute). Open your blog in a browser — the favicon now appears in the tab.

Figure 8. The custom favicon now appears in the browser tab, replacing the default blank icon.
[07] Quick Reference
| Step | Action |
|---|---|
| 1 | Prepare a square source image |
| 2 | Upload to favicon-generator.org and generate |
| 3 | Download the ZIP and copy the HTML snippet |
| 4 | Copy the unzipped folder to /assets/
|
| 5 | Paste the HTML snippet into _includes/head/custom.html
|
| 6 | Update href paths in the snippet |
| 7 | Push to GitHub and verify in browser |